


You may have noticed after your upgrade to Windows 10 that Microsoft has replaced your previous settings for your default apps with Microsoft’s own apps. Here is how you can set your default programs back to what you had before the upgrade.
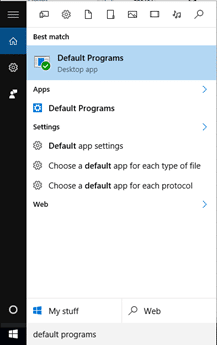
- Open your start menu and search for “Default Programs”
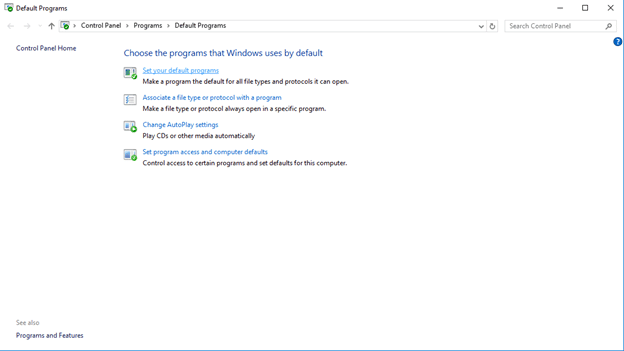
- Inside Default Programs, click the option “Set your default programs”
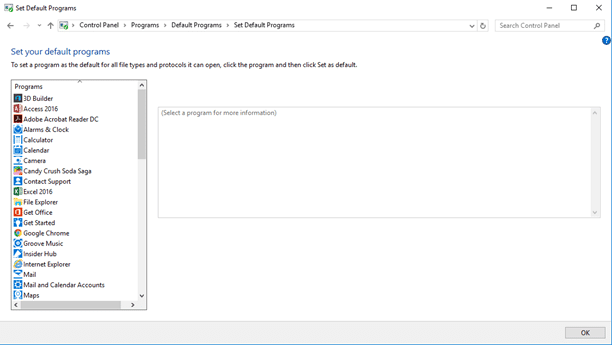
- A list of your installed programs will appear. Click on the one that you would like to set as your default.
- Once you have selected an app that you would like to change (in this case, Google Chrome is used as an example), you can either select to set the app to open all of its available file associations by selecting the option “Set this program as default,” or you can individually choose specific file types and protocols to be included in the program’s defaults.
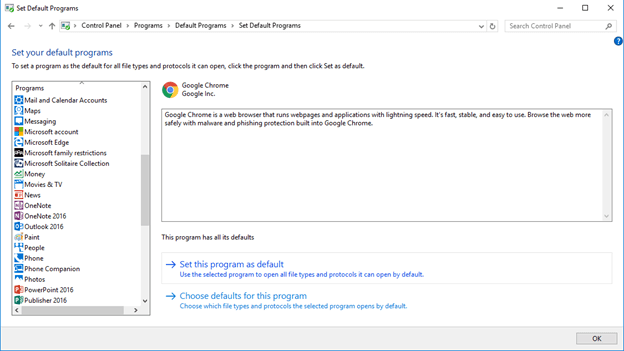
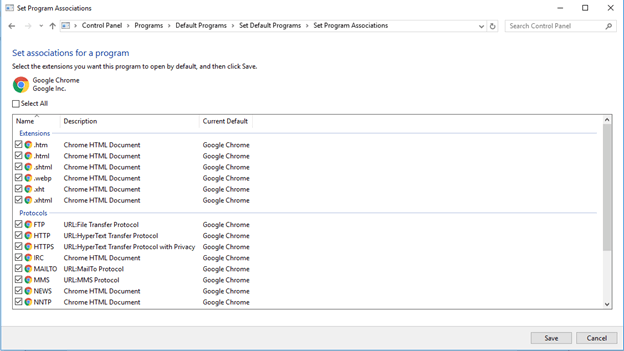
- If you wish to choose which individual file types and protocols are included in the app’s defaults, you can select the second option, “Choose defaults for this program,” and tick or untick the boxes for the file extensions and protocols that you would like this specific program to open.
- Once you have finished setting your default programs, click “Save” or “OK” in order to complete the process.


This process will set the default programs for the current user profile that you are logged into. If you wish to set default programs for other users on your computer, you will need to log into those profiles and repeat the steps above.
