How to Configure an Exchange Account on iPhone

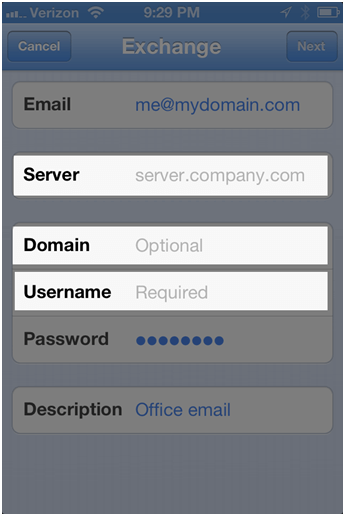
To configure your iPhone for your Exchange account, you will need the following information: Exchange server address – typically mail.mydomain.com Internal Domain: This is the internal domain for your user Username – first initial last name, or maybe just a first name Password – usually the same password you login to the network with

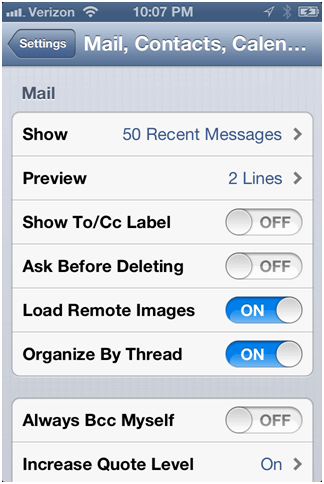
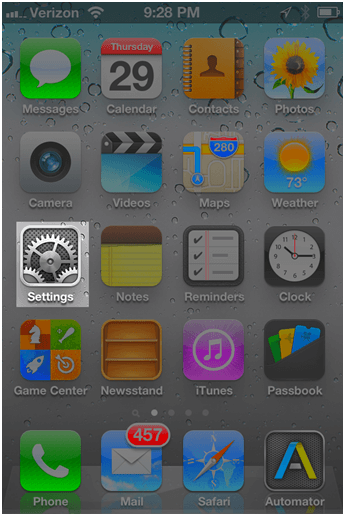
  1. Open the Settings app on the iPhone

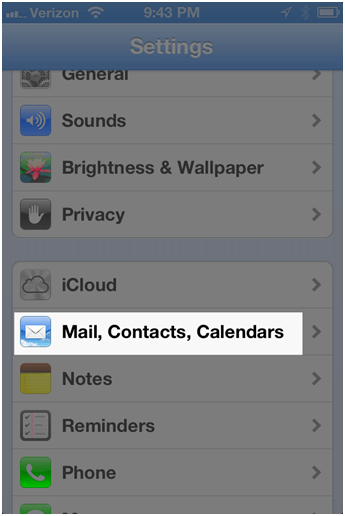
  2. Select Mail, Contacts, Calendars
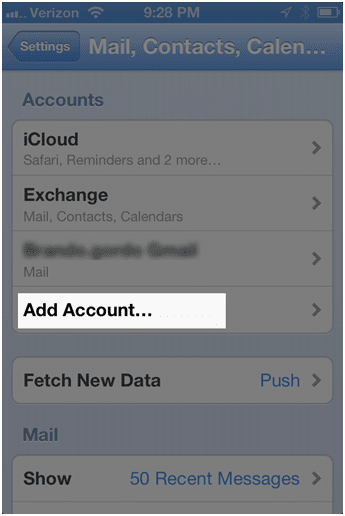
  3. Select Add Account

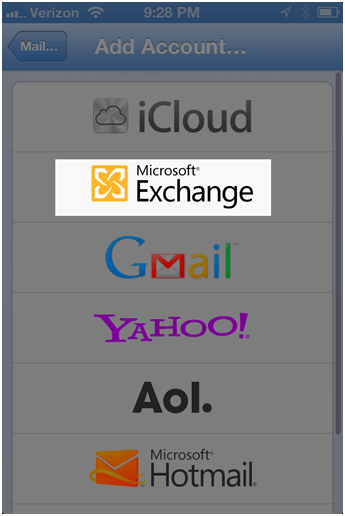
  4. Select Microsoft Exchange

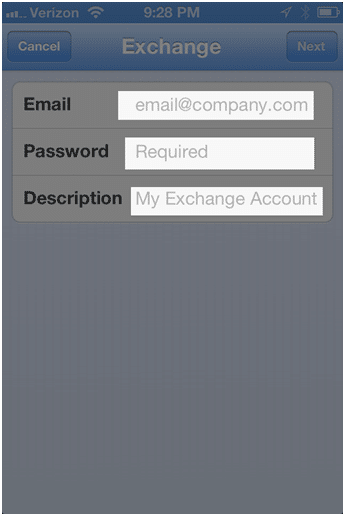
  5. Type in your email, password, and a short description of this account (e.g. Office)

    Type in your exchange server address, internal domain, and your username. When you tap Next, the device will verify the settings and add the account. Once the account is verified you should see an option to use SSL at the bottom. That option should normally be set to on. Once the account is added, you can select what exactly to sync. At one time, reminders worked better to sync them to your iCloud account instead of Exchange, so we recommend to not sync reminders to Exchange. Now once the account is created, you’ll want to configure your email signature and confirm the exchange account is the default for new contacts, and for sending all emails. If you add another account, you can return here to change it. Go to Settings, Mail Contacts, and Calendars. Scroll through the screens and confirm the Signature, Default Account, and My Info as shown below. Note: The next 5 screenshots are all on the same window. You will need to scroll to see all the information.